Wednesday, July 20, 2011

Granola Balls


I feel like this is the most celebrated recipe I found over the summer. (Courtesy of weelicious.com. Again.) Granola balls have taken over. They have been afternoon snack. They have been breakfast. They have been packed in school lunches. They have been snack for the 1st grade class.
They are yummy.
And they are great because they pack a big protein punch if you have a good granola at the base...nuts, seeds, etc. It's fantastic. Good protein, good fats, and the kids think they're getting a treat. Well, they are. But...one that I don't mind giving them. :)


Ingredients:
1/2 cup nut (or seed) butter
1/2 cup brown rice syrup
1 cup brown rice crispys
1 1/2 cups granola
1/4 cup raisins (or other dried fruit), chopped


Directions:
1. Place the nut butter and rice syrup in a small saucepan over low to medium heat and warm for a few minutes, until it becomes smooth and combined.
2. Place the remaining ingredients in a bowl, and stir to combine.
3. Pour the warm nut butter mixture into the bowl with the granola mixture and stir to combine.
4. Roll into 1 inch balls, right away while still warm, using damp hands.
5. Serve.


Notes:
*They really are best served right away. I tried freezing them and didn't like the outcome, though I might just need to try again. And not be so picky.
*You can use a tablespoon or a small ice cream scooper to help get a good ball going.
*I have used peanut butter every time, though the original recipe I found called for almond butter, and I think sunflower seed butter would be good too.
*As the mixture cools and your hands dry, it gets a little sticky and harder to form the balls. I just keep rinsing my hands to keep them somewhat wet and that does the trick!


K, so go try them!
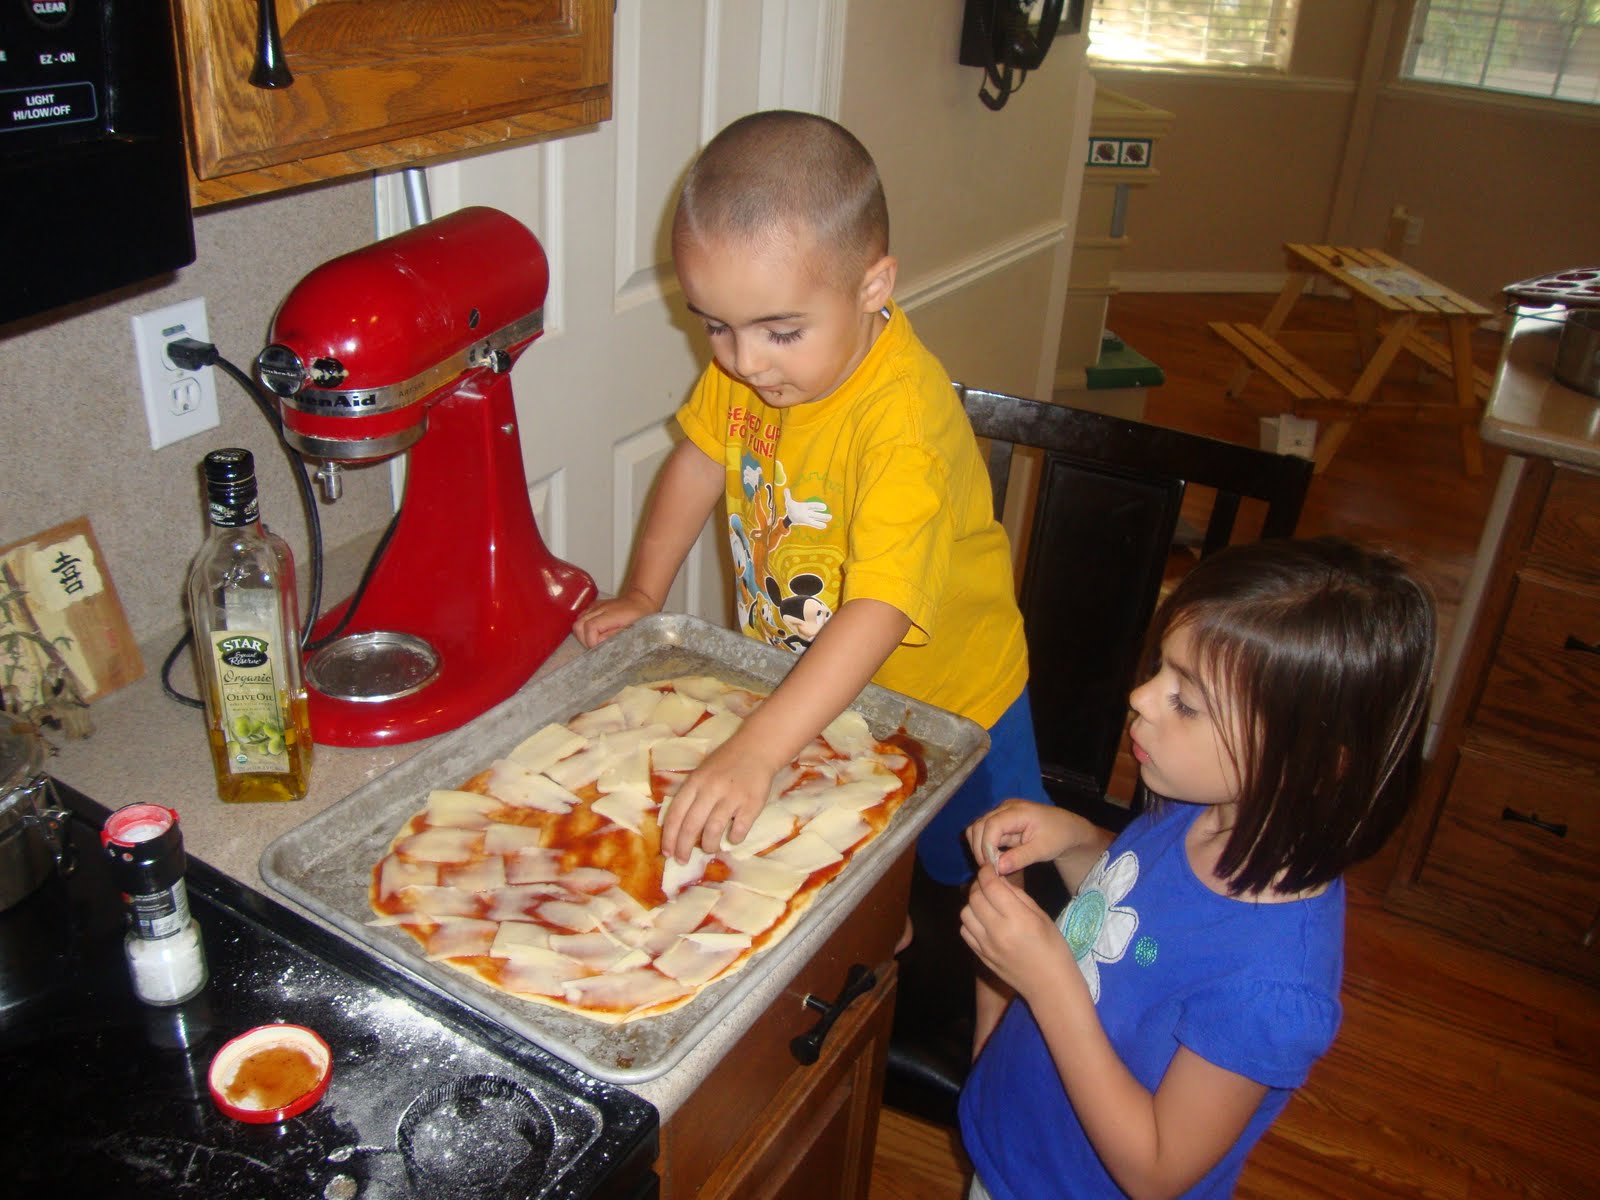
Kids love them, adults love them, and they are fun to make!
And I use a lot of exclamation points when talking about them!

They're so good they make you want to give them a good snuggle.

And, of course, share them with your friends.


Good stuff. Delicious granola recipe that provides the base for these soon to come!

Sunday, July 17, 2011

BBQ Chicken Pizza


Ever since we first had this particular pizza, three weeks or so ago, I think about it every day.
I really don't think I am exaggerating.
Every day.
Something about it added up to perfection.
Not necessarily nutritionally...though, really, it doesn't exactly go on the awful list. Just a nice medium.
And DELICIOUS.

Not to mention a great meal for kids to help with.


Here it is!


Ingredients:
*1 pizza crust
(I do have a couple of good recipes for pizza crust, will eventually get a recipe on here and link over! For now, do whatever your heart desires!)
*1 boneless, skinless chicken breast
*1/2 c barbecue sauce, plus a little extra for spreading on crust
(I also have a really good recipe for this! And again, I will eventually get that on here and link over. For now...you know the drill...do whatever your heart desires!)
*olive oil, for drizzling
*salt for sprinkling
*8 oz, weight, fresh mozzarella cheese, sliced thinly
*1/4 of a red onion, sliced very thin
*chopped cilantro, to taste (but the more the merrier, my friends!)


Directions:
1. Preheat oven to 375 degrees.
2. Salt chicken breast on both sides, then place in ovenproof dish. Pour BBQ sauce over the chicken and turn it over to coat. Bake for 20 to 25 minutes, or until chicken is done. Remove from oven and cut into a fine dice. Set aside.
3. Increase oven temperature to 500 degrees.
4. Roll/stretch out pizza crust. Lay it on a sheet pan drizzled with olive oil. Drizzle a little olive oil on the crust, then sprinkle on a little salt.
5. Spoon a couple of tablespoons (or more) of extra BBQ sauce on the crust and spread it evenly. Top sauce with the mozzarella. Sprinkle on the diced chicken and thinly sliced red onion.
6. Sprinkle again with a little salt, then bake for 15 to 17 minutes, or until crust is golden brown and toppings are bubbly.
7. Remove from the oven and sprinkle on plenty of chopped fresh cilantro. Cut into squares and serve immediately.


Notes:
*As you can tell from my picture, I didn't buy fresh mozzarella, just a regular block of it from the regular cheese section of the grocery store and sliced it up as thinly as I could. If I wander into the fancy cheese section, I may not ever come back. So I try to steer clear. (Though next time...I'm going fresh. Heaven help us.) But really, it turned out fine.
*I am making this again this Saturday and I am having JC marinate and broil some barbecue chicken ahead of time while he is doing the chicken we are having for dinner tomorrow...so, I will already have some chicken ready, cutting down on prep time. Always a good way to go. The less time the oven is on in August, the better!


If you are looking for the theme of my summertime meals, it is clearly...
Less Is More.
Apparently.
Every time I take a picture of what we have for dinner, it always seems there is just some random fruit along with it or something. I lose the homemaker competition for sure.
But, really...a fantastic BBQ Chicken Pizza covered in cilantro with some fresh cherries on the side?
No complaints here.

Friday, July 15, 2011

Roasted Cinnamon Honey Chickpeas


Okay. So, chickpeas aren't exactly at the top of my list of favorite foods. But they are somewhere near the top of my list of foods I that wish I, and my family, enjoyed more so we would get the health benefits they offer.
When I found this recipe, it just LOOKED so yummy, I decided to try it. Quite honestly, I thought maybe I could trick my kids into liking chickpeas.
And it worked.
I can't believe someone thought to do this with chickpeas. (But that is why I love weelicious.com!)


Ingredients:
1 15 oz can Garbanzo Beans, drained and rinsed (or 2 cups cooked Garbanzo Beans)
1/2 tsp ground cinnamon
1 Tbsp oil
1 Tbsp honey

Directions:
1. Preheat oven to 400 F.
2. Place the beans between 2 towels and pat dry, loosening the outer skin of beans.
3. Remove the outer skins of the beans and pat dry to remove any other excess liquid.
4. Whisk the cinnamon and oil in a bowl to combine.
5. Add the beans, stirring to coat, and place on a baking sheet.
6. Roast for 30-40 minutes.
7. Remove the beans from the oven, place in a bowl, and toss with honey.
8. Place the beans back on the baking sheet and into the oven, roasting an additional 10 minutes.
9. Cool completely and serve!


Notes:
*Makes about 2 cups.
*Can be stored in an airtight container on your counter or in the pantry for up to 2 weeks.
*Original recipe calls for the first roasting time to be a full 40 minutes long but I found they got a little bit of a burnt taste, so I lessened the time to closer to 30. They weren't quite as crunchy then...I will probably keep playing with it. Probably depends on the individual oven, elevation, etc.
*The first time we ate them, I felt like they could be sweeter to balance out the 'bean' taste and the cinnamon flavor. I added a little extra honey the next time and the flavor was good but they were noticeably more sticky, instead of being the kind of snack you could grab a handful of and carry around with you. (You know you look for that in a snack food.) Again, I will probably keep playing with it!
*If more than one person is eating them and likely to enjoy doing so, I suggest doubling the recipe. Plus, if you are going to go through the trouble of making a homemade snack like this, it is nice if it lasts for more than one snacking period!

AND...

*If you decide to be clumsy, and spill one child's portion on the floor as you are attempting to place it in front of them, just know...you will be picking up those bad boys one by one. They don't sweep up well. Now you know.

AND...

*Don't expect honey roasted peanuts. These are good, but they are an acquired taste. Certainly worth acquiring though!!! I dare you to try them. Twice.

Banana Chocolate Chip Muffins


These are very yummy without being overly sweet. Perfect for morning, noon or night! We have eaten them as part of meals, as a snack, and as dessert. If you use good quality chocolate chips, it really can be a pretty guilt-free indulgence!
I found this recipe on weelicous.com. It is a GREAT resource for recipes using good ingredients that will please kids!
This recipe makes 12 regular muffins.

Ingredients:
1 1/2 c flour
1 tsp baking powder
1/2 tsp baking soda
1/2 tsp salt
1/4 c honey or agave nectar
1 large egg
2/3 c milk
3 Tbsp vegetable or canola oil
2 ripe bananas, mashed
3/4 c semi-sweet chocolate chips

Directions:
1. Preheat oven to 400.
2. Combine the first four ingredients into a bowl.
3. In a separate bowl, whisk the honey, egg, milk, oil, and mashed banana.
4. Slowly combine the dry ingredients into the wet, and then stir in the chocolate chips.
5. Pour batter into greased or lined muffin cups, about 2/3 of the way up, and bake for 18 minutes.
6. Cool and serve!

Notes:
*You can replace the chocolate chips with dried fruit or nuts if you'd like. Though...I don't know if I ever could.
*Place muffins in plastic bags and freeze for up to 3 months!
*I use almond milk instead of cow's milk and extra virgin olive oil instead of canola or vegetable. I have made batches with both agave and honey and both have turned out great!


As you can see, I prefer to eat them fresh from the oven, still melty and too hot to handle...fork required! The kids prefer to wait until they have cooled off, palm them, and carry them around the house...best if eaten over the freshly cleaned carpet.

Sunday, March 1, 2009

Go-to Chocolate Cake and Frosting


I got this recipe from my dear friend, Ali. Ali is the guru for all things "Is there a healthier version of this?" Ali is also the guru for all things "We laughed so hard we..." but we'll leave that for another time.
I love Ali.
And I love this chocolate cake recipe.
The frosting too. (though we have had our differences)
Anyway, the basic gist of this cake is that it tastes delicious but has whole wheat flour and agave nectar at its base (not literally...both are actually all throughout...), meaning that the darn thing is void of anything refined, bleached, enriched, etc.
It's like a miracle in cake form.
A really delicious miracle.
I call this my "Go-to Cake" because instead of carefully planning all other exposure to sweets, vigorous application of immune-system building foods, etc. for weeks preceding and following any sort of holiday celebration to compensate, this cake can swoop in at a minute's notice and not require all of that careful cushioning.
It also inspires run-on sentences.
Let's just get to it...

Dry Ingredients:
1 3/4 c whole wheat pastry flour (can use regular whole wheat flour)
3/4 c cocoa
1 1/2 tsp baking powder
1 1/2 tsp baking soda
1/2 tsp salt

Wet Ingredients:
2 eggs
1 c milk
1/2 c oil
2 tsp vanilla
1 1/3 c agave nectar
1 c boiling water


Directions:
1.Combine dry ingredients
2.Combine wet ingredients, adding boiling water last
3.Add dry ingredients to wet, then beat with mixer 2 minutes
4.Bake at 350 degrees for 30-35 minutes
5.Let cool, then frost


frosting:
2/3 c agave nectar
1/2 c butter
1/3 c cream, milk or hot water
(cream will give most milk chocolate taste, water most dark chocolate taste...milk somewhere in between)
2/3 c cocoa

Mix all ingredients, chill in fridge for a bit to thicken up somewhat before use.


NOTES:
- This can be done either as cupcakes, two layered 9" round cakes or a 9x13 pan cake.
- The frosting is pretty runny, even with adding less liquid than called for. I shall perhaps find another frosting recipe or just REALLY cut back on the liquid and see how that does...
- YUM.